Custom and Default Documentation Templates
How Sparkify's built-in Default templates differ from Custom ones you create yourself, and how to build and edit them.
Every Documentation in Sparkify is created from a template — a pre-defined structure of sections, fields, and measurement slots that shapes what gets captured on the job. Sparkify ships with a set of Default templates maintained by the Sparkify team, and your Workspace can define its own Custom templates on top of them.
This article covers how the two differ, where to find them, and how to build and edit them.
Default vs Custom templates
| Default templates | Custom templates | |
|---|---|---|
| Maintained by | The Sparkify team | Workspace Users |
| Updated when | The Sparkify team regularly applies improvements, based on user feedback | Whenever a Workspace User edits them |
| Scope | Available in every Sparkify Workspace | Available only inside the Workspace that created them |
| Editable | No (read-only) | Yes |
| Examples | Device testing / VDE 0701/0702 Report, Installation test / VDE 0100-600 report, Deficiency documentation — see the full list below | Anything your Workspace needs that the Default templates don't cover |
When to use which: start with Default templates for standard inspections and only build Custom ones when you have a workflow the Default set doesn't cover, since Custom templates need to be maintained by you.
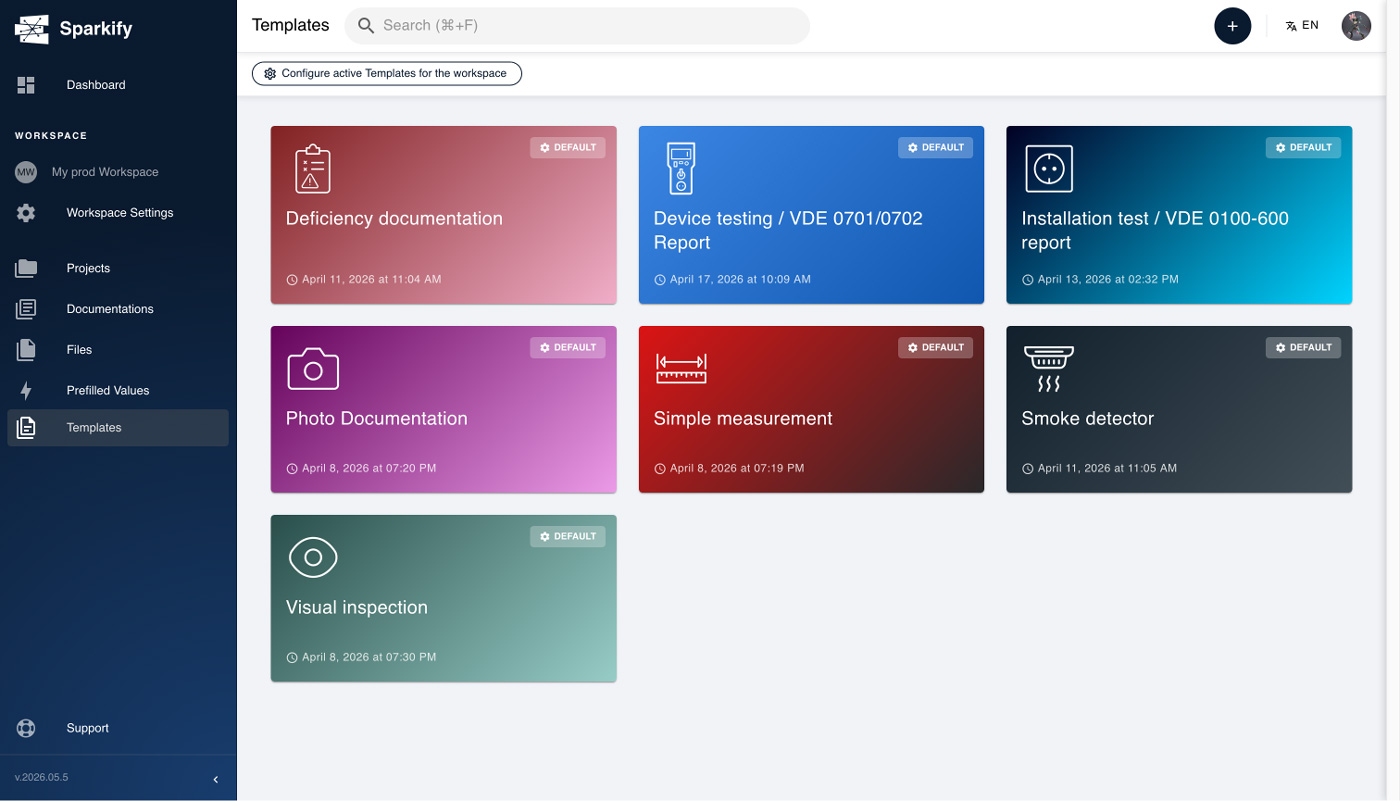
Default templates included
Sparkify currently ships with the following Default templates:
- Device testing / VDE 0701/0702 Report — Testing of portable electrical devices in accordance with VDE 0702. Uses the Wiha PAT device.
- Installation test / VDE 0100-600 report — Inspection of fixed electrical installations according to VDE 0100-600. Uses the Wiha MFT device.
- Deficiency documentation — Record defects found on site for follow-up or handover.
- Photo Documentation — A photo-led record where the structure is built around images rather than measurements.
- Simple measurement — A simple measurement that also supports SOLA measuring instruments.
- Smoke detector — This template helps you systematically check and document the functionality of smoke detectors.
- Visual inspection — A checklist-driven visual inspection with no measurements required.
Where to find them
Open the Templates tab in the webclient from the left navigation. Default templates appear at the top, and the Custom ones under the Default ones. In the iOS / Android app, templates show up inside each project when you create a new Documentation.
Creating a Custom template
Note: Creating Custom templates requires a paid plan — Personal Cloud, Personal Cloud+, Professional, or Enterprise. The free Sparkify plan can use Default templates only.
Custom templates are created on the webclient. Here's the flow:
Open the Templates tab
In the webclient, click Templates in the left navigation. Click + New template at the top-right of the Custom section.
Create your Custom template
Option A — Create a new Custom template
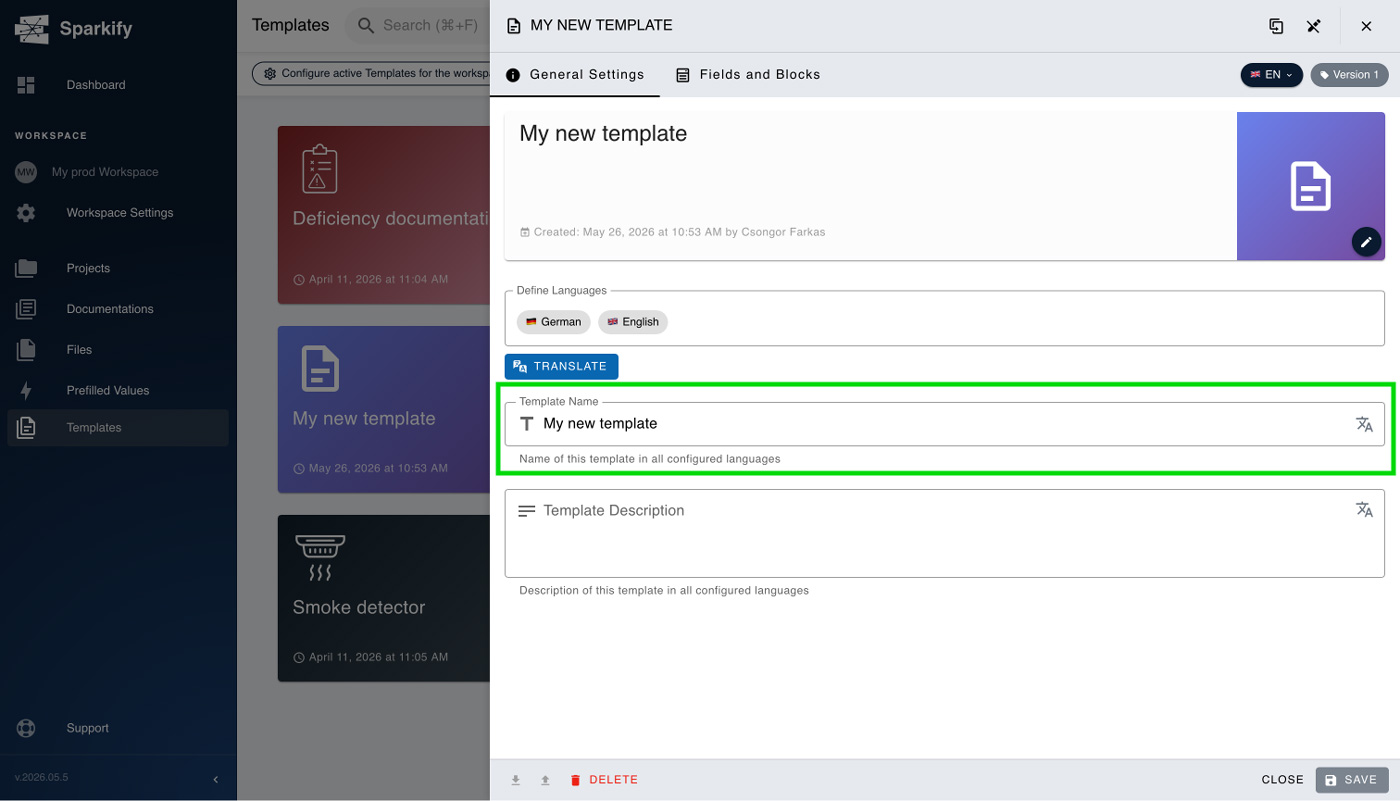
Give the template a name your team will recognise, and add a description if you want.
Then switch to the Fields and Blocks tab in the top bar.
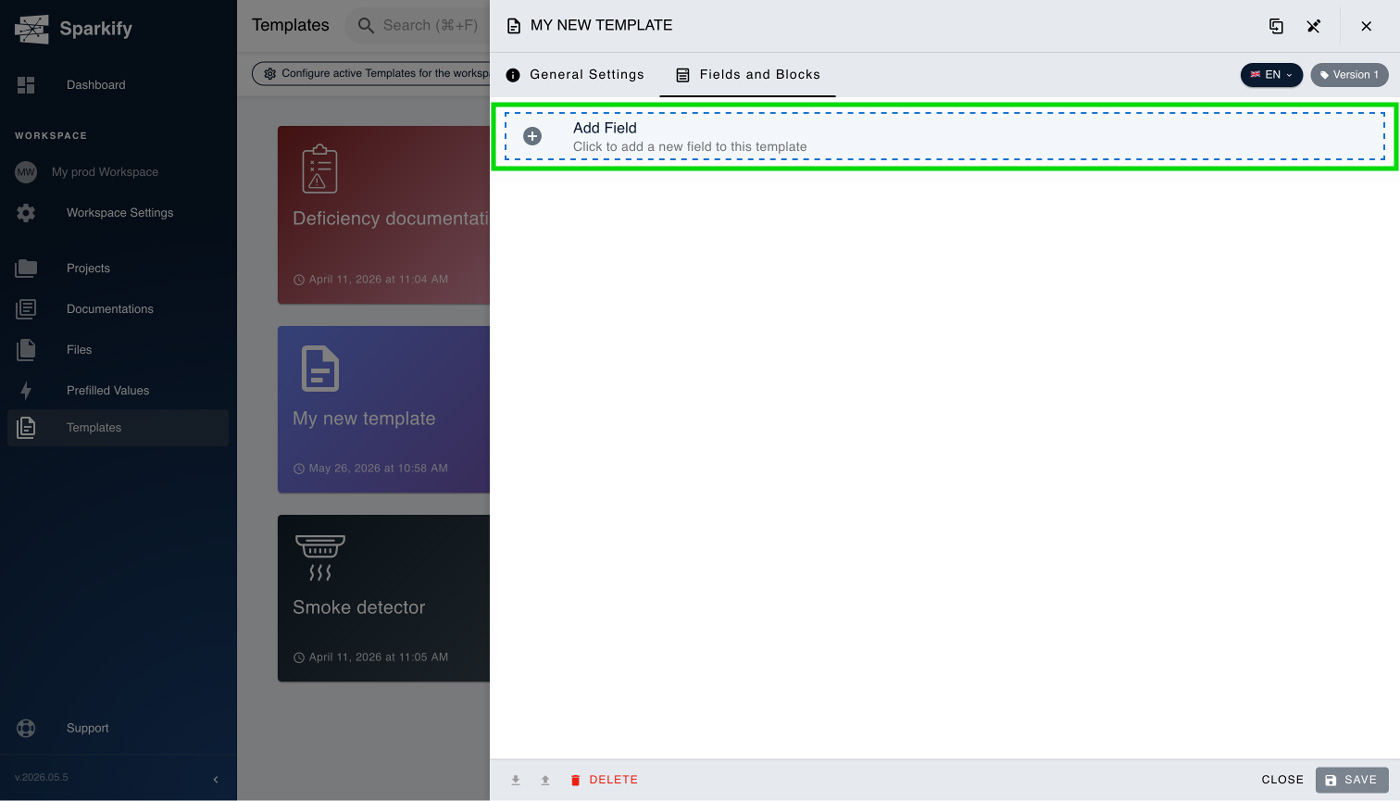
Click Add field to choose a field that suits your needs.
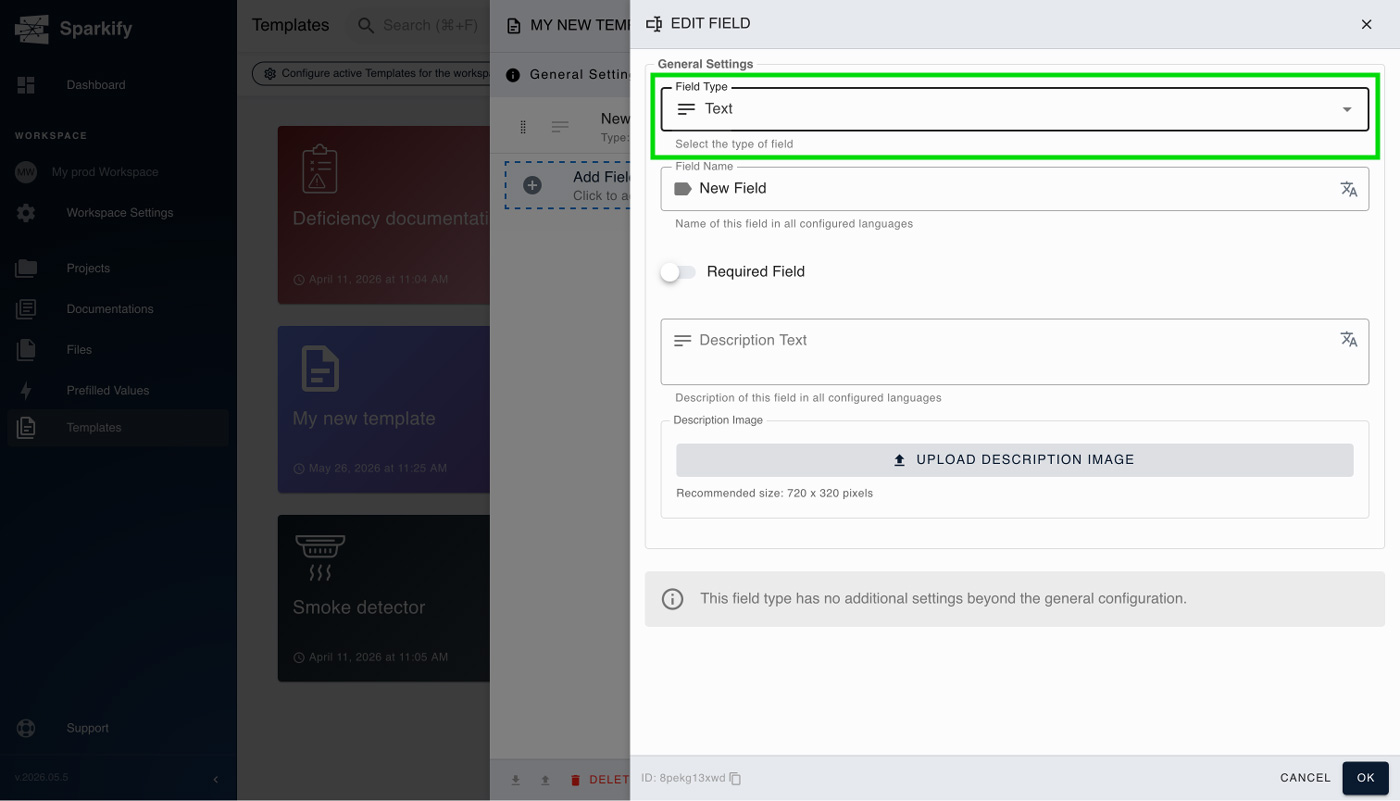
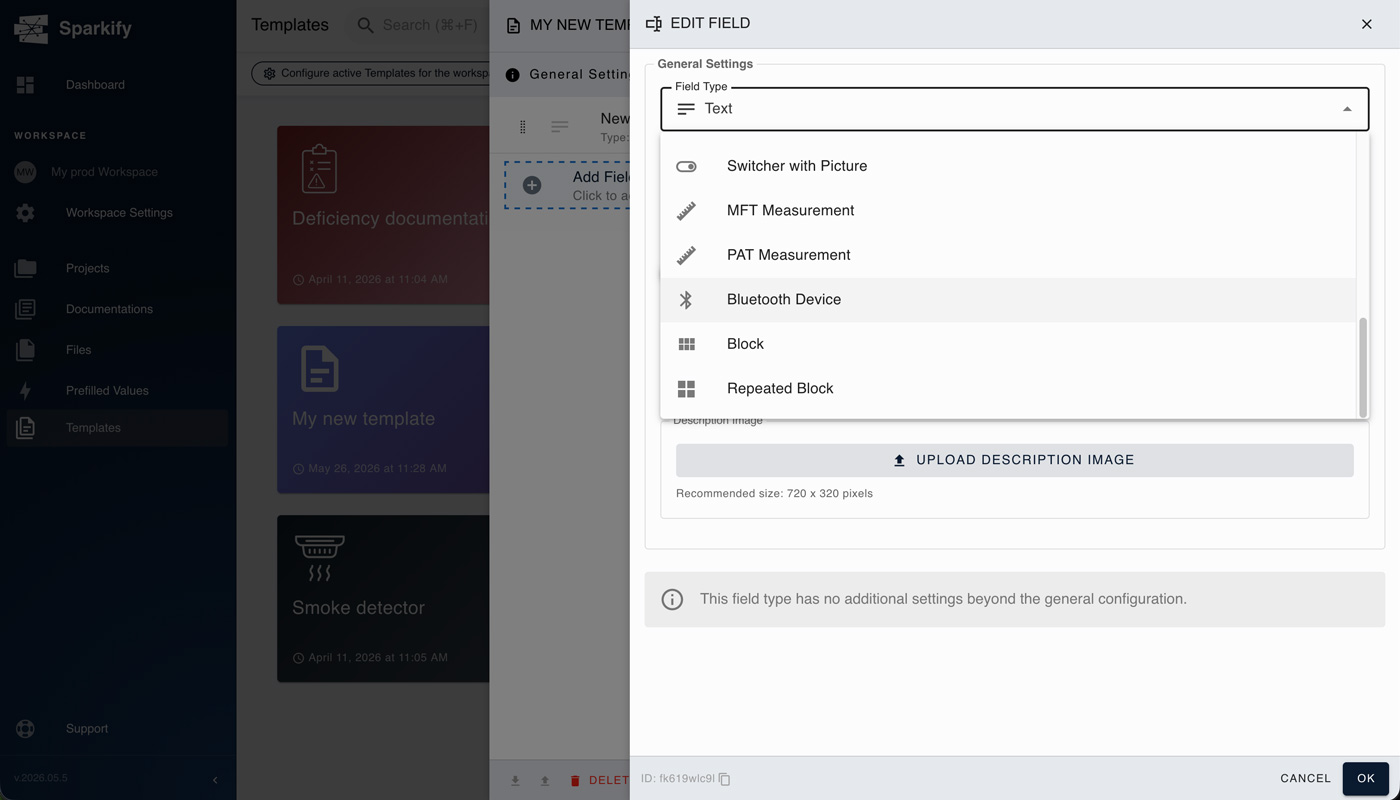
Keep going until the template matches what you have imagined. You can choose from a variety of field types — text field, number, date, time, select, heading, photo, etc.
For the full list, see Available field types below.
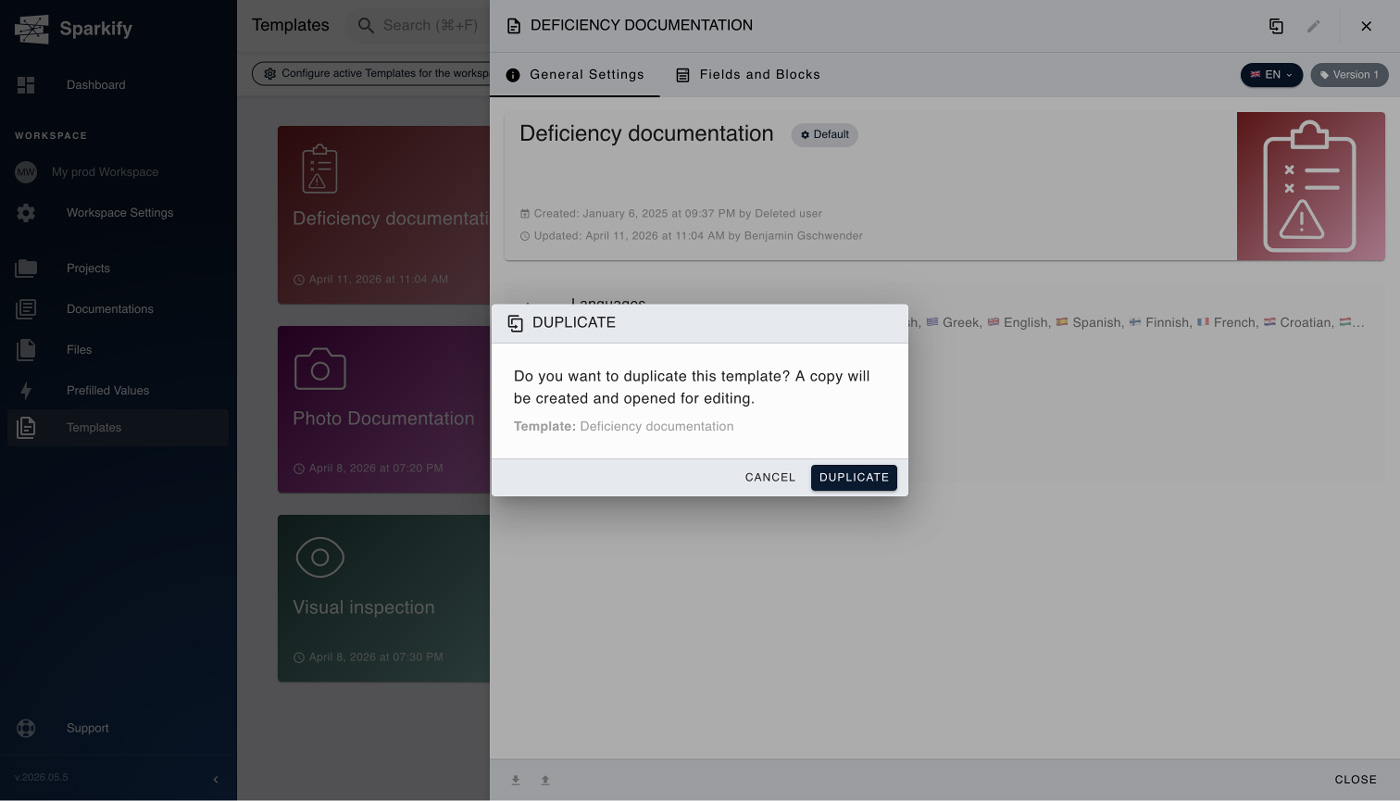
Option B — Create a Custom template by duplicating an existing one
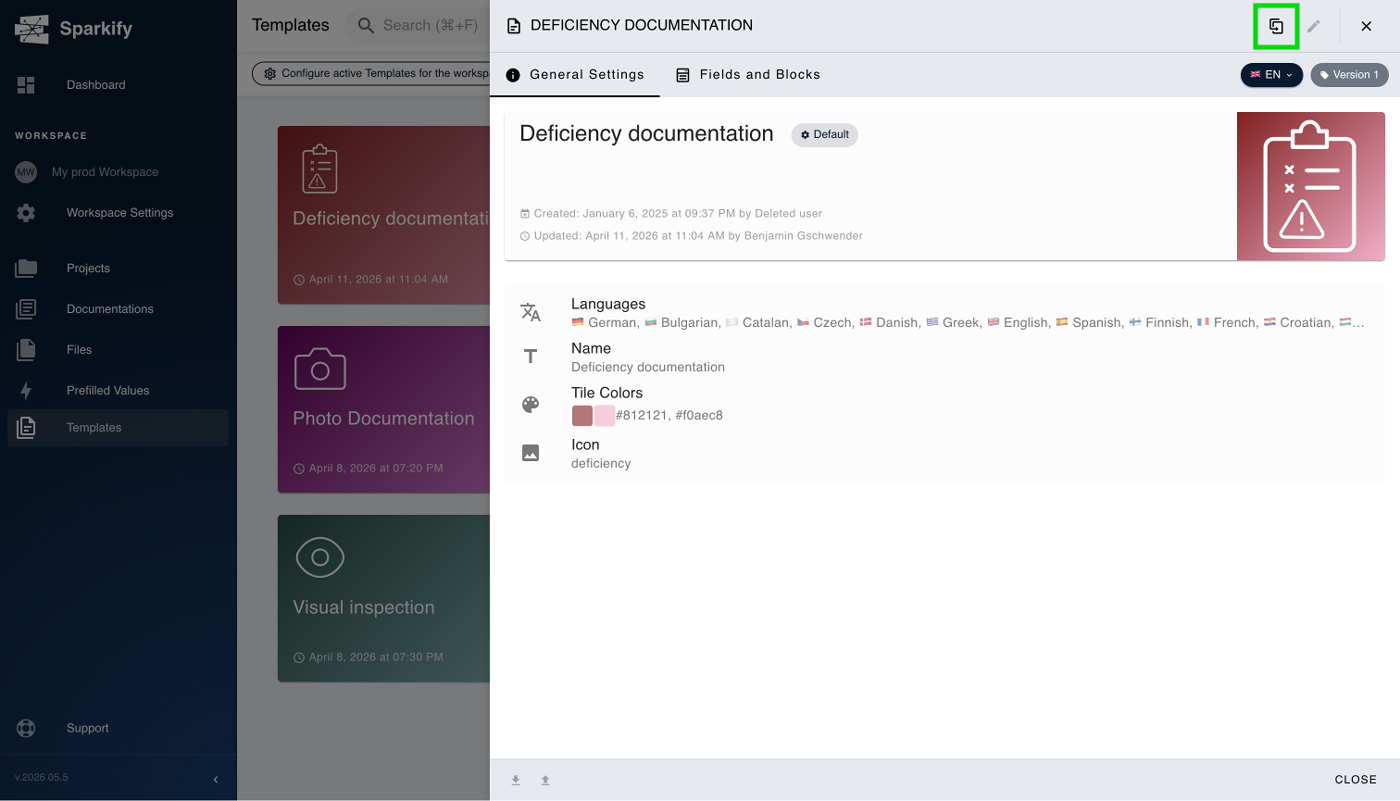
Open the Default or Custom template you want to start from, click the duplication icon at the top right, and choose Duplicate on the modal dialog that appears.
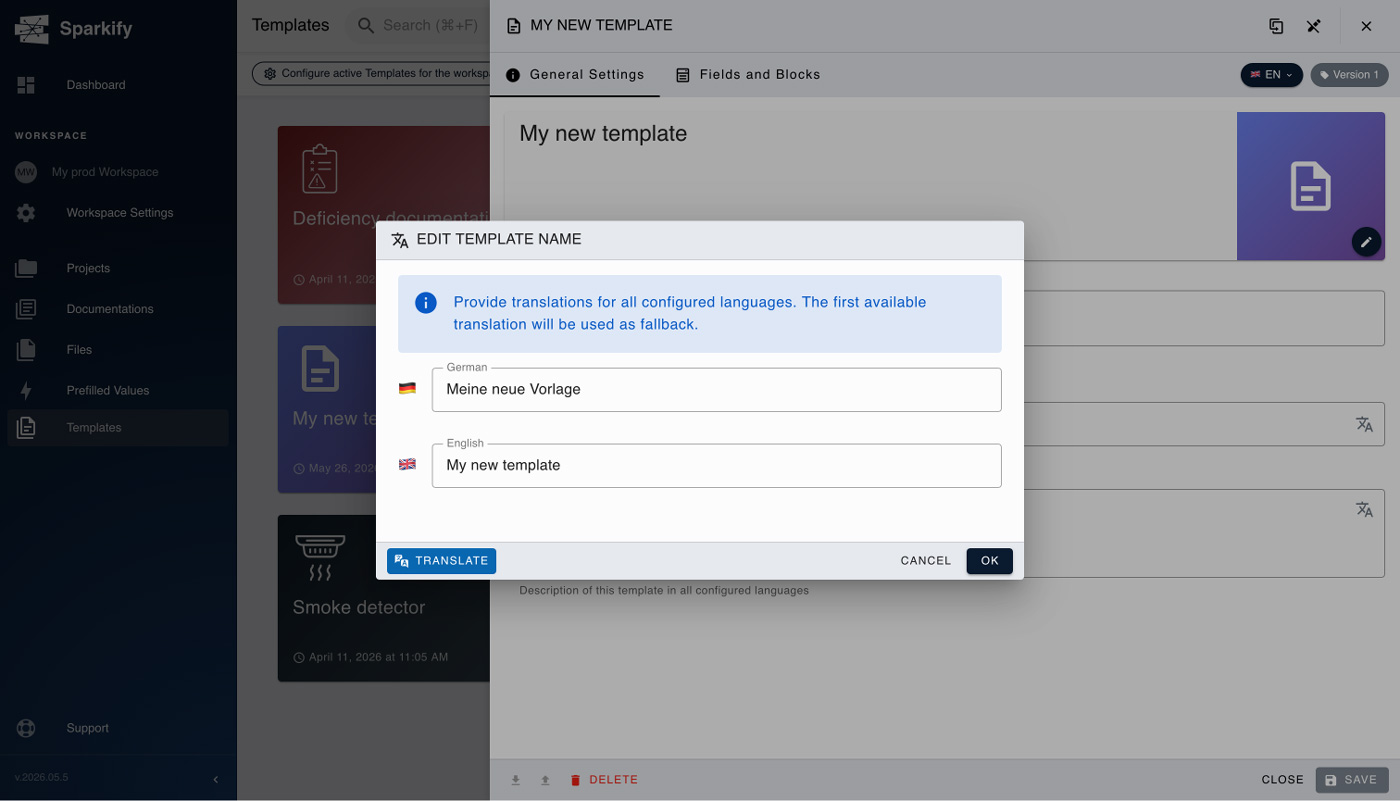
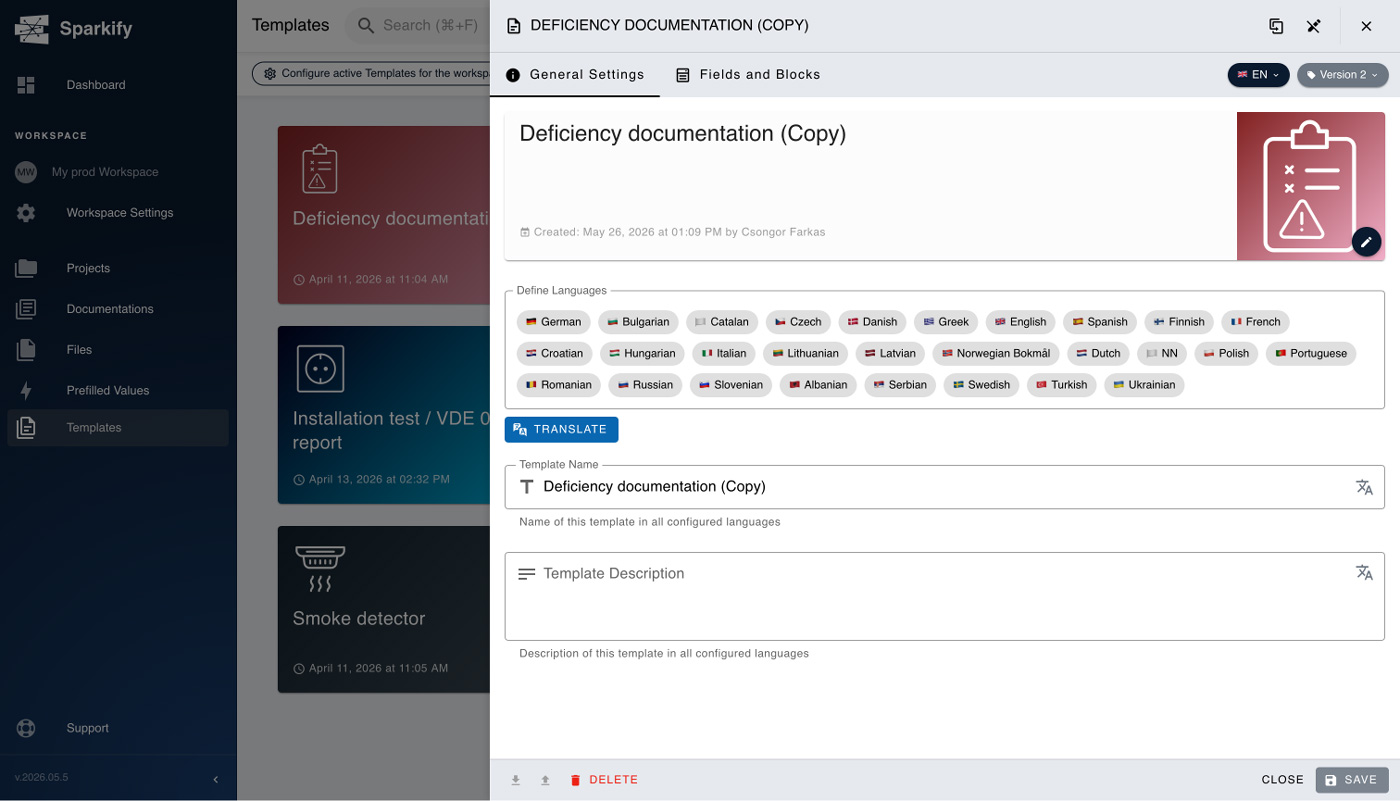
After the modal dialog, you will have the newly duplicated template open. You need to define the languages your template will use, to rename it to your needs and liking and to save it, and that's it. You can customise the template colors and icon too.
Build the structure
Add sections, fields, and measurement slots. Each section can hold text fields, dropdowns, multi-selects, signature fields, photo upload slots, and measurement slots tied to specific test types (continuity, insulation, loop impedance, RCD trip-time, etc.).
For the full list, see Available field types below.
Save and publish
Click Save. The template is immediately available to every member of your Workspace when they start a new Documentation.
Available field types
How you combine these fields really depends on the use case itself, and you need some familiarity with them — get to know each one first by using the default templates.
- Text field
- Number
- Date
- Time
- Select
- Heading
- Photo
- Barcode
- Switch
- Switcher with picture
- MFT measurement
- PAT measurement
- Bluetooth device
- Block
- Repeated block
Editing a template
Default templates can't be edited directly — if you need to change something, duplicate the Default template into a Custom one (see Option B in step 2 above) and edit the copy. Custom templates can be edited at any time. Edits affect every new Documentation created from the template going forward; Documentations that were already created from the previous version keep their existing structure.
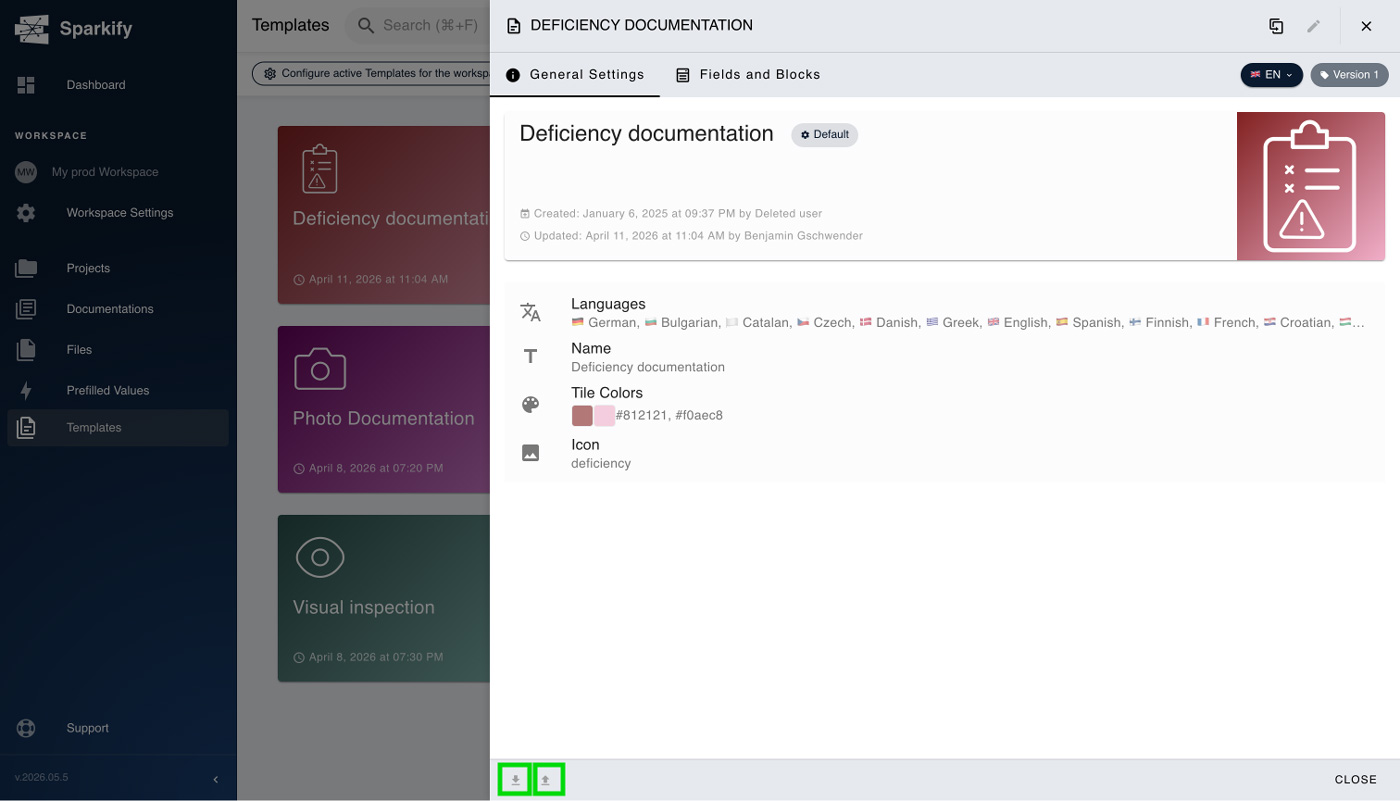
Sharing templates across a Workspace
Custom templates are automatically shared with every member of the Workspace that created them — if you can see the Workspace, you can see all of its Custom templates. To move a template to another Workspace, use the Export JSON and Import JSON buttons in the bottom bar to save it as a JSON file and load it on the other side.